Instructions for WH 7016 Digital Thermocontroller
Using the Control Buttons:
HERE is : better post and review for 7016 temperature controller
RST: Press and hold the RST button for three seconds to switch the unit on or off.
SET: The SET button has two functions:
Temperature Set Point: Press the SET button once to enter the control temperature setting
and then press ▲ or ▼ to adjust to the desired set point. Press SET button again to exit
temperature setting mode.
Other instructions to willhi termostat
System Menu: Press and hold the SET button for three seconds to enter the system menu
settings, then press the ▲ or ▼ button to select the menu item for the parameter to be
adjusted. Once the required menu item is displayed press the SET button once again to
enter the adjustment mode, press ▲ or ▼ to adjust the parameter to the required setting.
After adjustment press RST key once briefly to exit – or wait for 5 seconds for the unit to exit
automatically.
▲: increase key
▼: down key
Operating Instructions
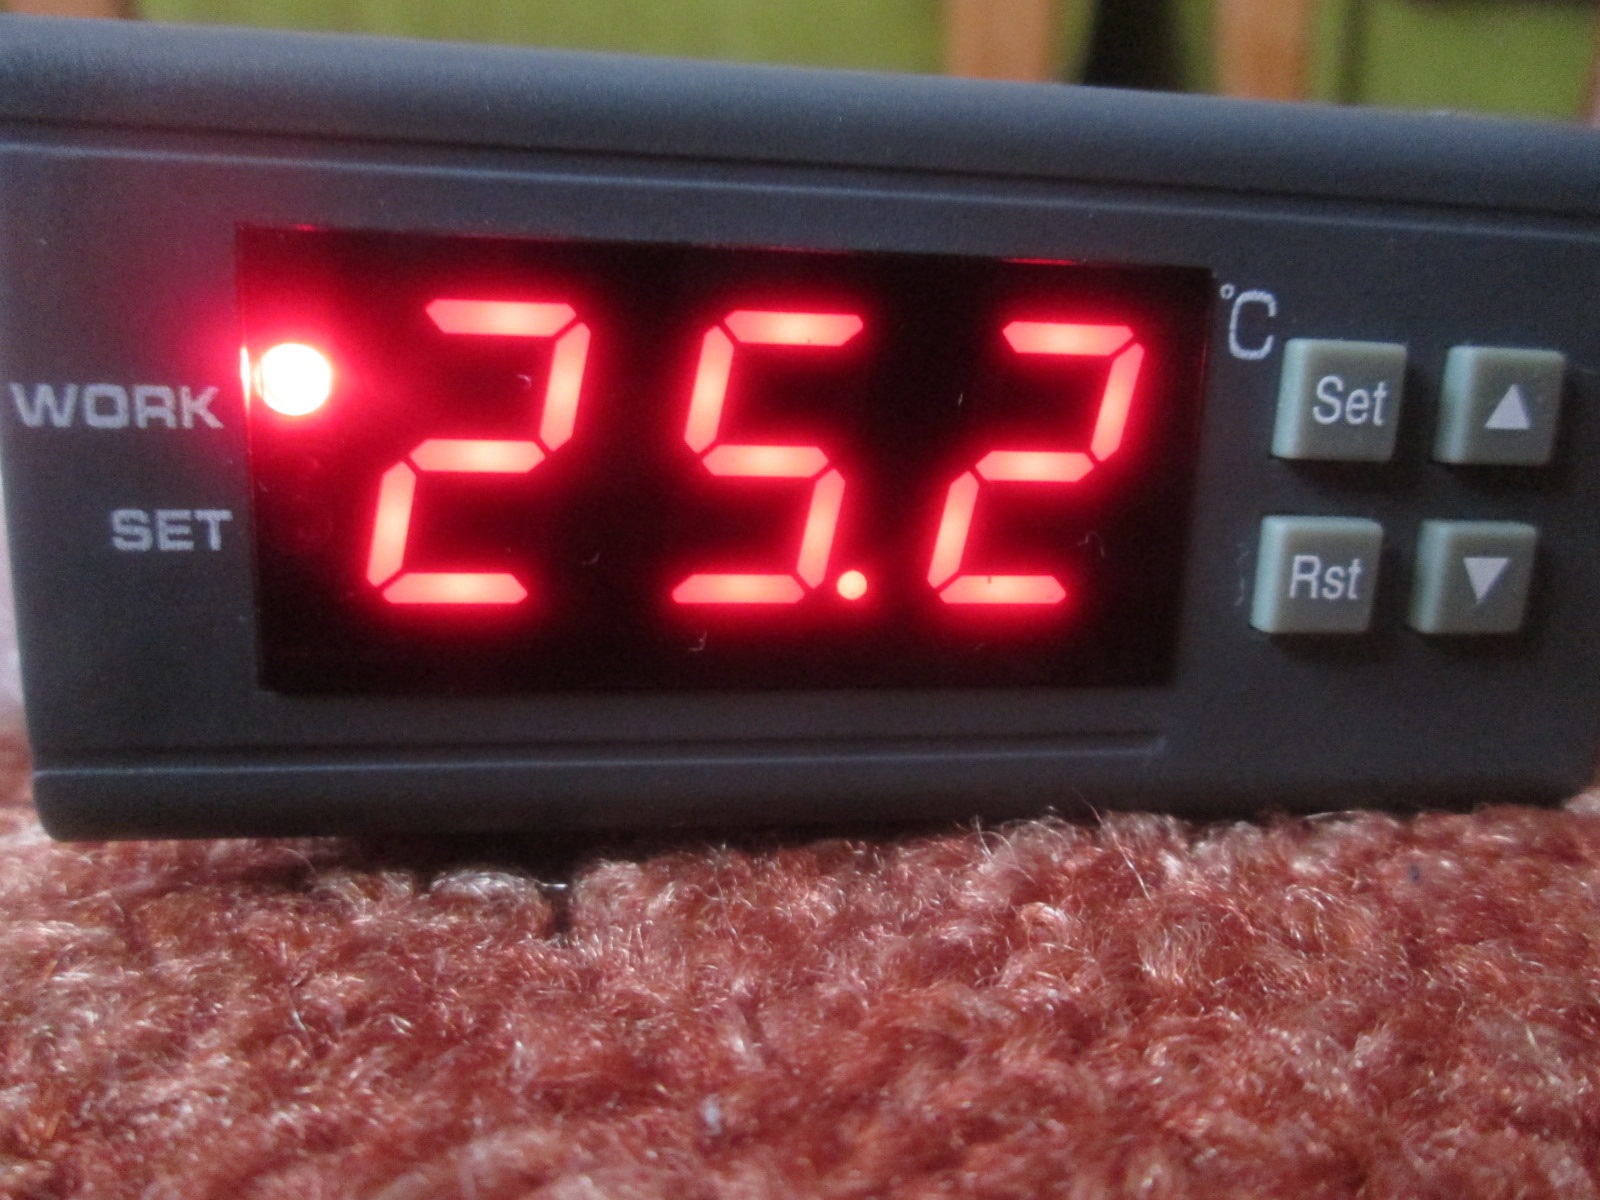
Status LED’s: The left side of the display contains 2 LED’s which indicate status of the unit.
1. WORK LED –
a. No light = the relay is not activated.
b. Light is on (steady state) = relay is activated i.e. power is flowing to the load.
c. Light is on (flashing) = time delay mode prior to activation of the relay.
2. SET LED – Light is on (steady state) when the unit is in the parameter setting mode.
Operating the Unit:
Press “RST” button to turn on thermostat. To turn off the unit press the “RST” button for 3 seconds
Parameter Setting
◆ Setting the unit to Cooling or Heating mode:
Press “SET” button and hold for more than 3 seconds to enter the menu display.
The display will show “HC”, (if not then press press “▲” or “▼” until “HC” appears).
Press the “SET” key again to enter the menu mode.
Press the “▲” or “▼” to adjust the display – “C” to set to cooling mode or “H” to set to
heating mode.
Press “SET” to exit the menu – or wait for 5 seconds.Digital Thermometer Instructions
Page 2
◆ Temperature Differential:
This is the interval in ℃ between the temperature at which the relay activates (the set point) and the
temperature at which it turns off again (the deactivation point). In heating mode: the set point + the
differential = the deactivation point. In cooling mode: the set point – the differential = the deactivation
point. The differential can be adjusted from 1℃ to 15 ℃.
◆ Setting the Temperature Differential:
Press “SET” button and hold more than 3 seconds to enter the menu display,
Press “▲” or “▼” button until “d” appears on the display.
Press the “SET” key to display the differential value,
Press “▲” or “▼” key to adjust the value as required.
Press “SET” to exit the menu – or wait for 5 seconds.
◆ Temperature calibration:
This function allows the unit to be calibrated to show the correct temperature against a standard
thermometer. The unit can be adjusted to plus or minus 5 degrees.
◆ Setting Temperature calibration:
Press “SET” button and hold more than 3 seconds to enter the menu display.
Press the “▲” or “▼” button until “CA” appears on the display.
Press the “SET” key to display the temperature correction settings,
Press “▲” or “▼” key to adjust the correction setting as required.
Press “SET” to exit the menu – or wait for 5 seconds.
For example: If a standard thermometer (or other temperature gauge known to be correct) reads,
say, 25 degrees but the display on the unit reads 27 degrees then the CA parameter must be set to
-2 in order for the display to correctly show 25.
◆ Compressor Delay Protection:
This function sets the delay time between when the set point (i.e. activation temperature) is reached
and actual activation of the relay. The main use of this function is to prevent rapid cycling of e.g.
refrigeration compressors. Example: In Cooling mode, if the set point (say, -20 degrees) is reached
the unit waits for the delay time (say, 5 minutes) and if the temperature is higher at that time than
the set point the relay is activated (thus turning on the compressor).
This function is normally only used for cooling applications. When in heating mode it should
normally be set to “0”.
◆ Setting the Delay function:
Press “SET” button and hold more than 3 seconds to enter the menu display.
Press the “▲” or “▼” button until “PT” appears on the display.
Press the “SET” key to display the time delay settings,
Press “▲” or “▼” key to adjust the time delay as required – to a maximum of 10 minutes.
Press “SET” to exit the menu – or wait for 5 seconds.Digital Thermometer Instructions
Page 3
◆ Upper and Lower Temperature functions:
These functions set the upper and lower limits within which the unit can be adjusted. Example:
when HS is set to +15 and LS to -10 the set point can only be adjusted within these limits. If it is
required to set the set point outside this range then HS and/or LS must be changed first.
◆ Setting the Upper and Lower limits:
Press “SET” button and hold more than 3 seconds to enter the menu display.
Press the “▲” or “▼” button until “HS” appears on the display.
Press the “SET” key to display the temperature settings,
Press “▲” or “▼” key to adjust the upper temperature limit as required (it can be set
anywhere between -50 and +110).
Press “SET” to exit the menu – or wait for 5 seconds.
Press “SET” button and hold more than 3 seconds to enter the menu display.
Press the “▲” or “▼” button until “LS” appears on the display.
Press the “SET” key to display the temperature settings,
Press “▲” or “▼” key to adjust the lower temperature as required (it can be set anywhere
between -50 and +110).
Press “SET” to exit the menu – or wait for 5 seconds.
Other
When the sensor is disconnected the display shows “—“.
When the sensor detects the temperature is below -50 degrees, the display shows the “LLL”
When the sensor detects a temperature higher than 110 degrees, the display shows “HHH”
Warning
◆ The load must not exceed the rated capacity of 5 Amps. Exceeding this may result in machine
damage and could cause a fire.
Features and Specifications of the WH7016 Digital Thermometer
Features:
A mini temperature controller
With large and clear LCD display for better readability
Wide temperature measuring range
High performance and durable housing
Heating and cooling control
Temperature calibration function
Compressor delay protection function
Control parameters can be locked – disabling user changes
Upper and lower limits of temperature can be setDigital Thermometer Instructions
Page 4
Can be used for domestic freezers, water tanks, refrigerators, industrial chillers, boilers,
steamers, industrial equipment and other temperature-controlled systems
Comes with temperature sensor probe
Specifications:
Temperature Measuring Range: -50 ~ +110 deg C
Temperature Controlling Range: -50 ~ +110 deg C
Temperature Measuring Error: ± 0.5 deg C
Sensor: NTC (10K / 3435)
Control Accuracy: 1 deg C
Working Voltage: AC 220V
Working Current: Max. 220mA
Relay Contact Current: AC 5A / 220V
Operating Temperature: 0 ~ +50 deg C
Storage Temperature: -10 ~ +60 deg C
Sensor probe cable length: Approx. 40 inch / 1 meter
Item Dimensions (L x W x H): Approx. 3.3 x 3 x 1.3 inch (8.5 x 7.5 x 3.4 cm)
Wiring Diagram
Terminals 1 and 2: Relay contacts – when the relay activates power flows to the load.
Terminals 3 and 4: Connect to power supply according to the specific voltage for this unit – See
product identification on back of unit (may be 240v, 120v or 12v). Refer to wiring diagram for
more detail.
Terminals 5 and 6: If these terminals are connected (i.e. short circuited by jumper or switchable
link) the parameters of the unit are locked and cannot be modified by the user.
Terminals 7 and 8: Temperature sensor connection
Note: The load refers to the heating or cooling equipment being controlled by the unit.
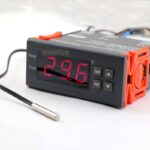
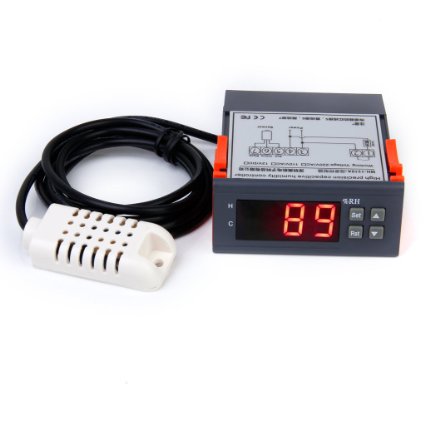
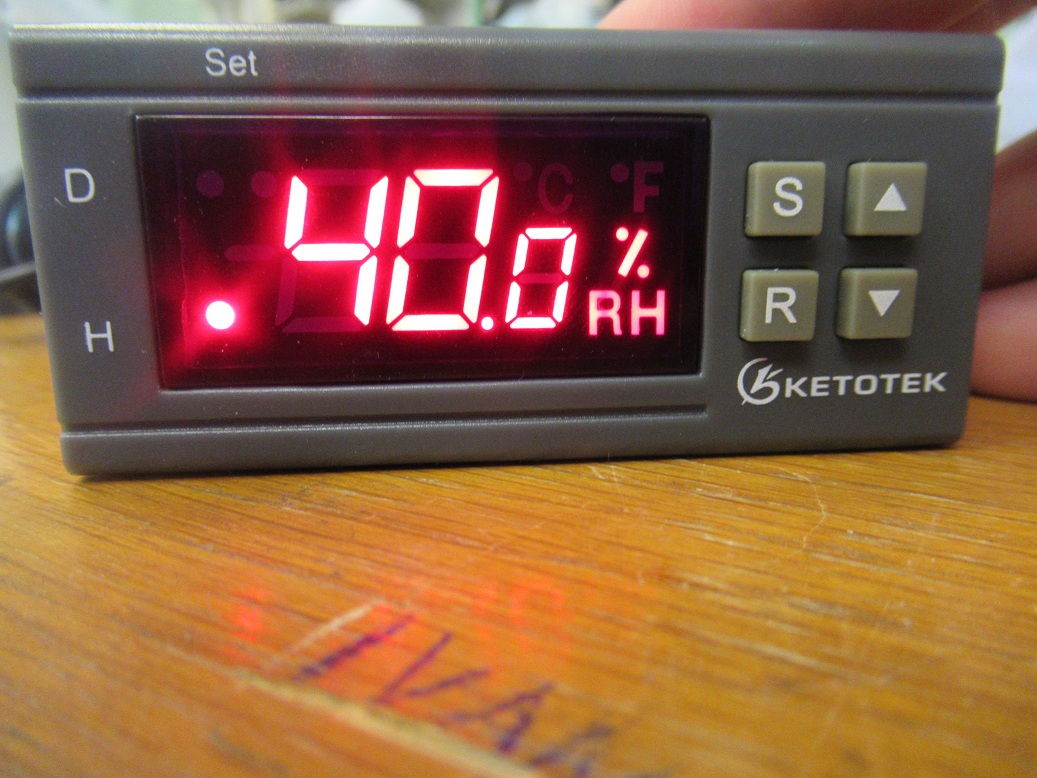
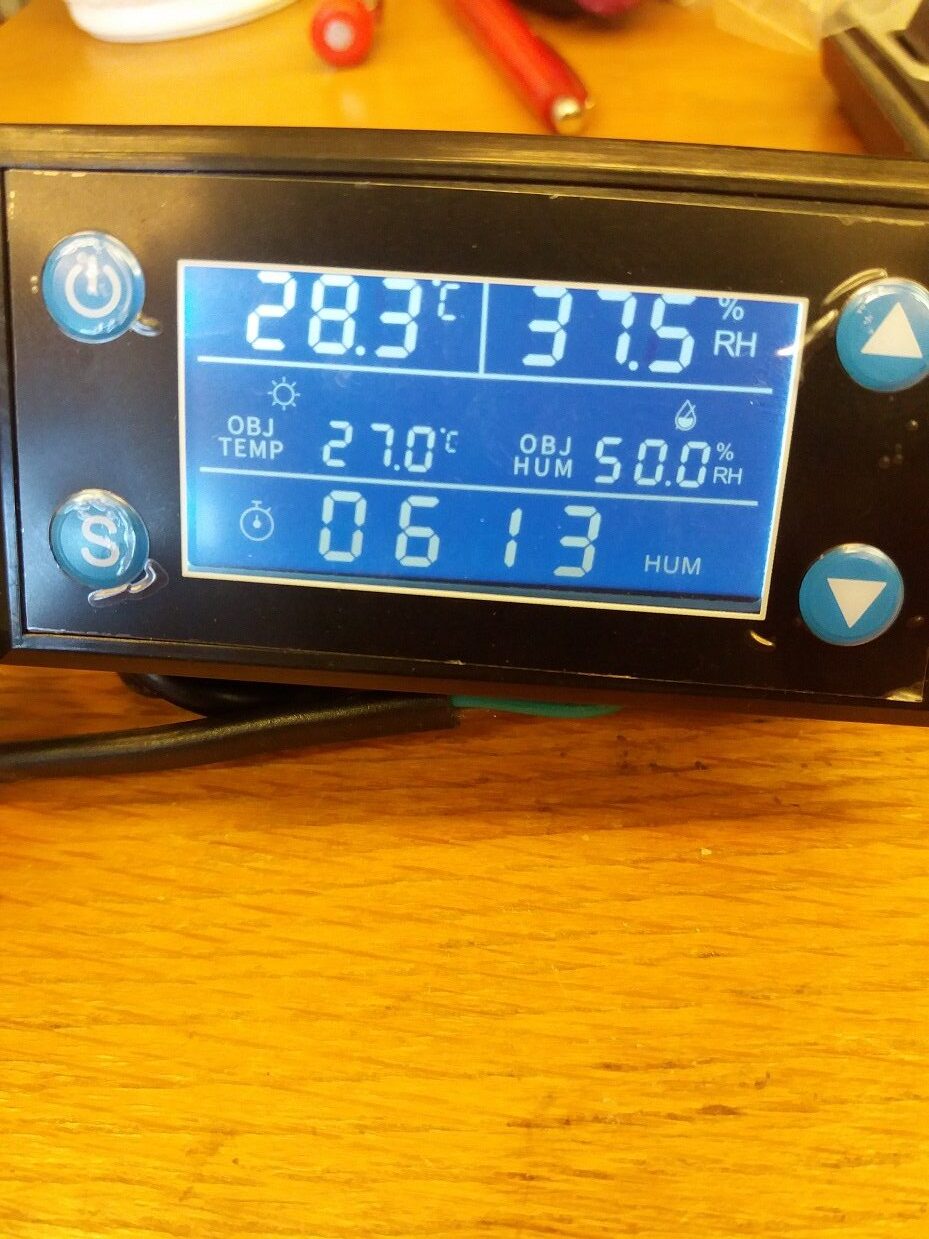
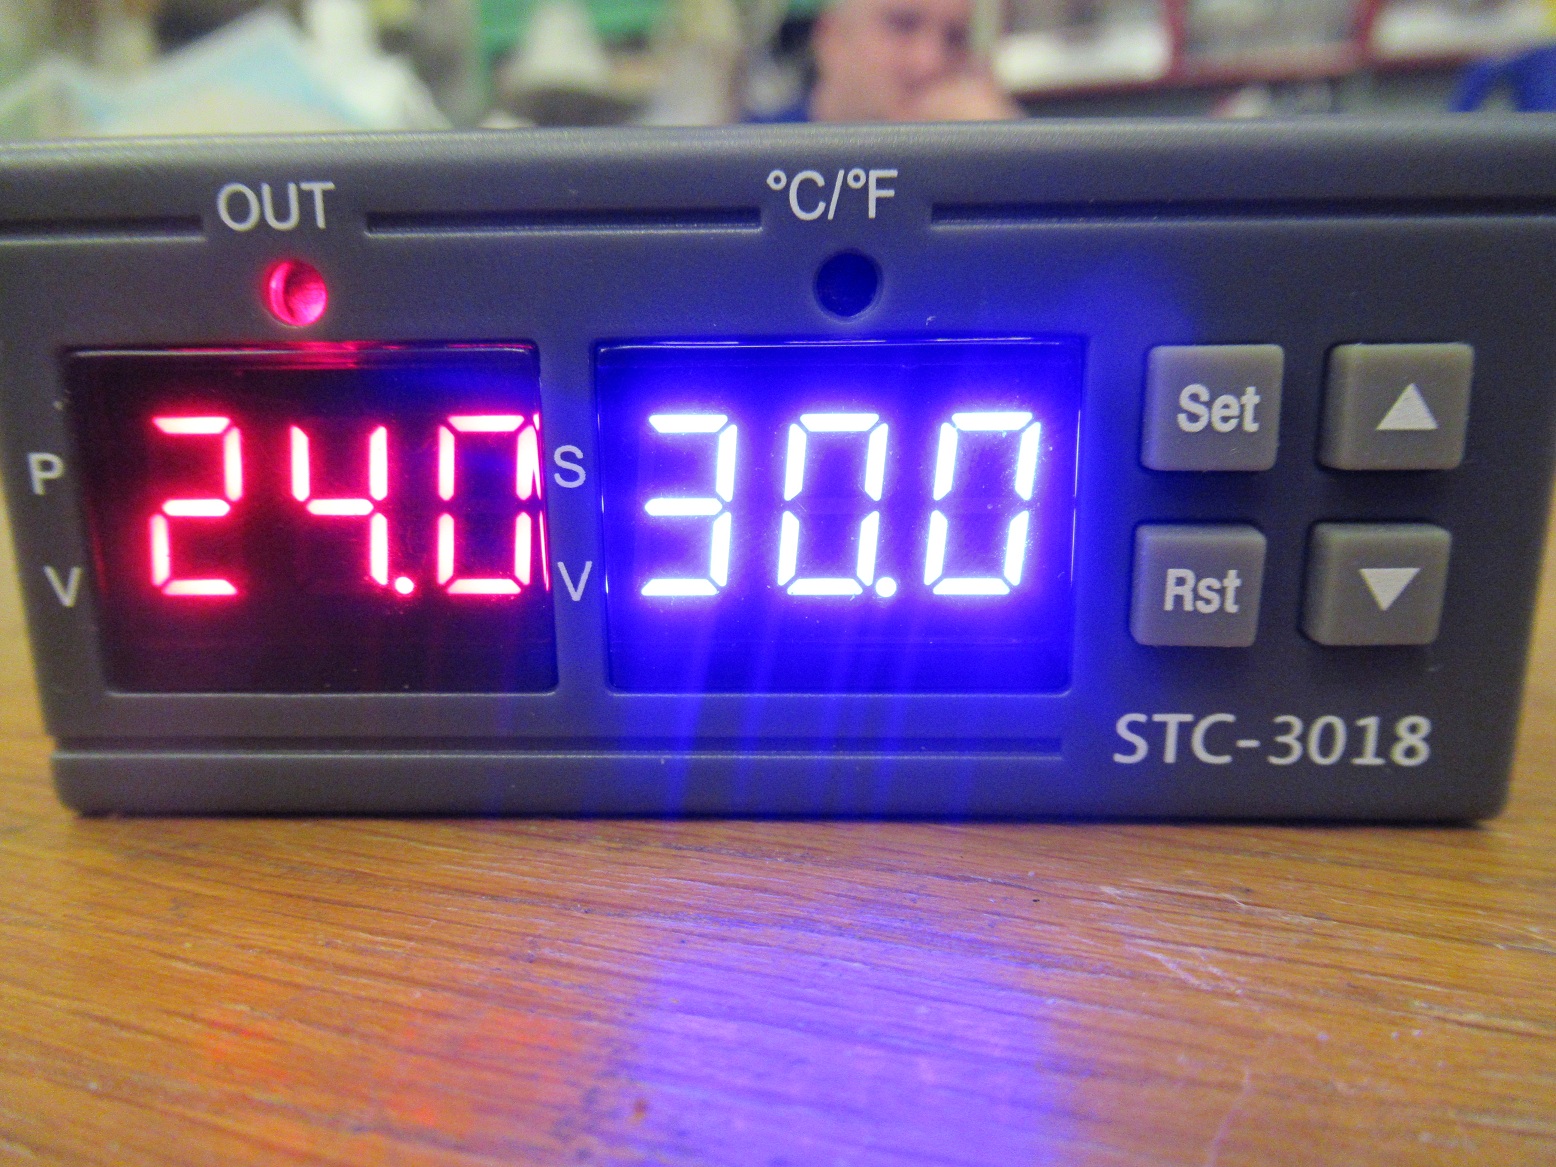
Hello. I ordered and received a WH7016C+ digital termperature controller that I thought could be converted to fahrenheit. Do you have a controller that is just fahrenheit?
F = C multiplied by 9, and then divided by 5, and then add 32.
(C x 9 ÷ 5) + 32 = F
C = F minus 32, then divided by 9, then multiplied by 5.
(F – 32) x 5 ÷ 9 = C
I think Donald meant “switched,” not “converted.” And the display CAN be switched. See my prior comment.
It’s hard to follow the directions, but there IS a way to switch the display to show Fahrenheit. Hold SET for 3 seconds til menu comes on. Use up or down button until you see C/F. Hit SET again and use the up/down to select F (for Fahrenheit) or C (for Celsius). Hit set again to exit that parameter.
Much thanks for awesome info
Is the wire for the thermometer heat proof and if so, up to what temperature.thanks in advance
Wire is not heat proof bigger value as 100C not recommend
bonjour,
il m’est impossible de trouver le menu C / F, j”ai tout les autres menus mais pas celui là
le module est sur F
si quelqu’un a une combine je suis preneur
merci