This review is special in that I can not recommend for the device KT-3012, because it has a manufacturing defect (at least the whole series of humidity controller), in the article you will find out what “software error” contains and how you can “fix” it, technical parameters and device connection
Humidity controller KT3012 is from Ketotek he is my favorite aliexpress seller and I like to shop with him for my customers. Sells quality Chinese thermostats at a great price its devices have a low error rate compared to others from ebay and aliexpress. I am not very satisfied with the KT3012 humidity controller model because it has a bug in the program.
But first what is KT3012?
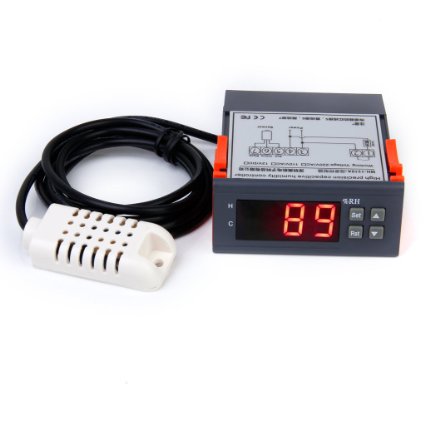
It is a humidity controller for humidification and dehumidification, it has a sensor on the wire that senses moisture is very similar to the humidity controller MH13001 Practically different from relay KT3012 and has three terminals NO, COM, NC humidity probe has a connector (does not screw) .
Now i will describe hygrostat (humidity controller ) and control , i will try to describe accurately.The device MH13001 include five main components:
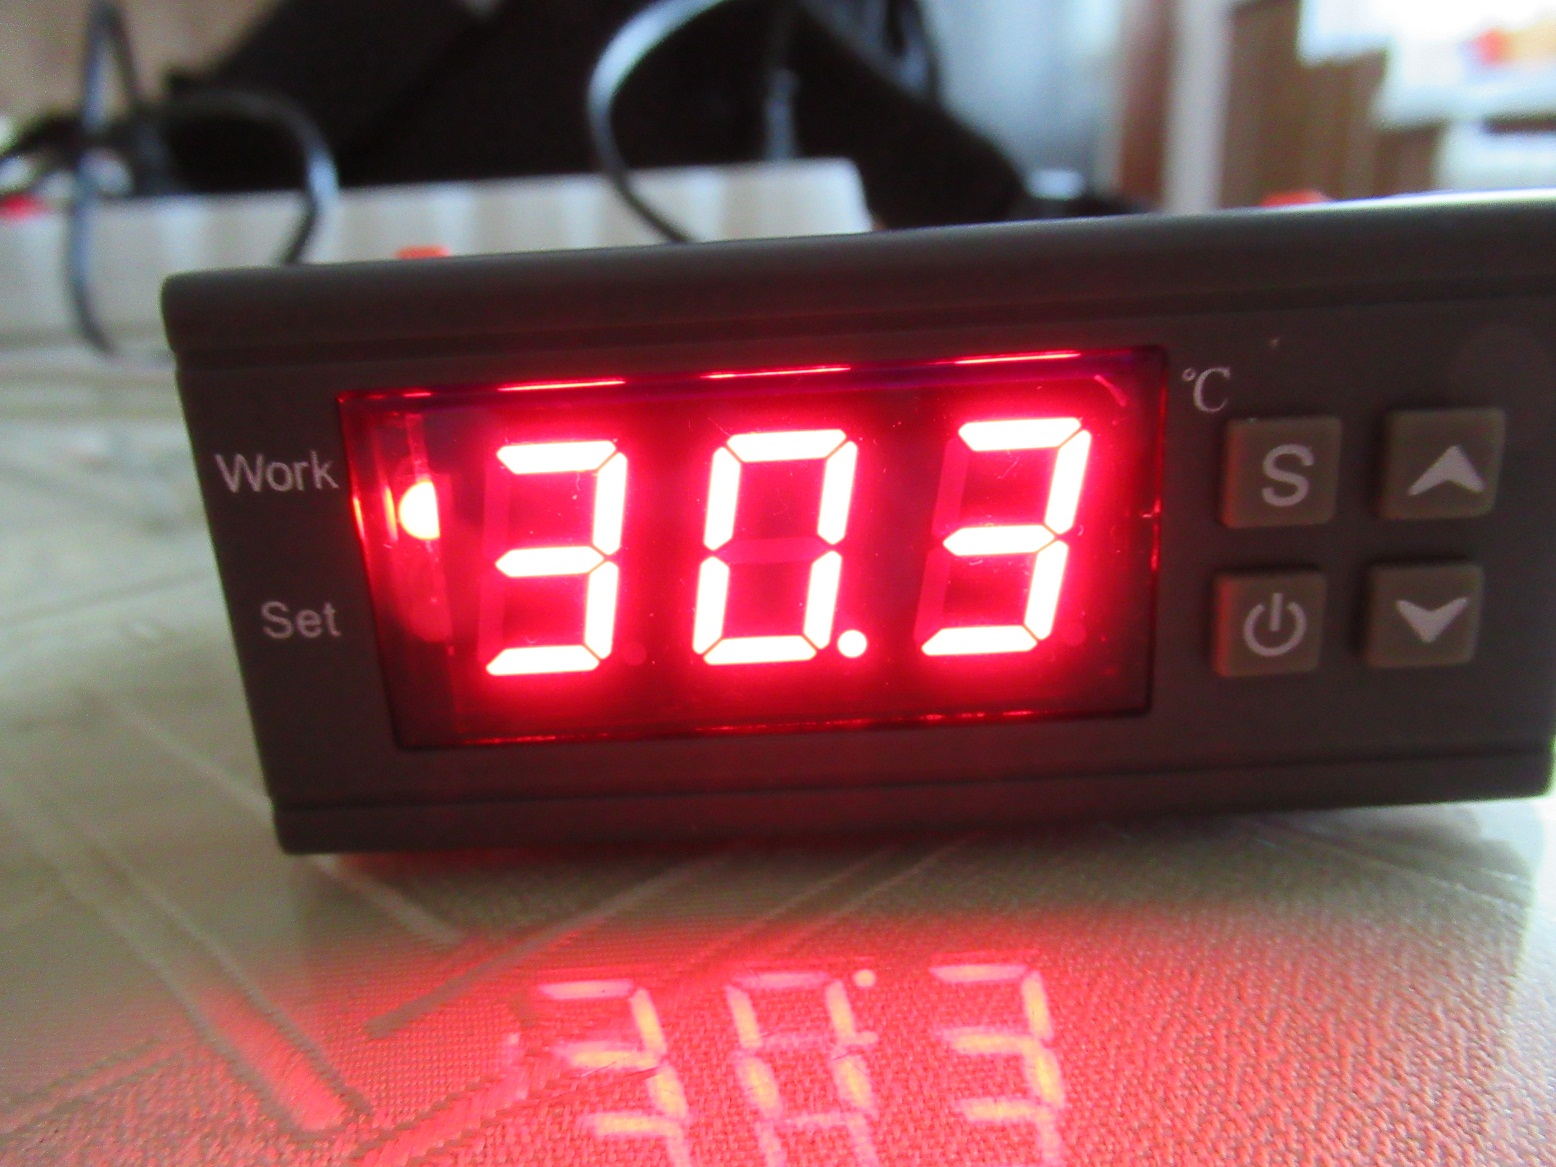
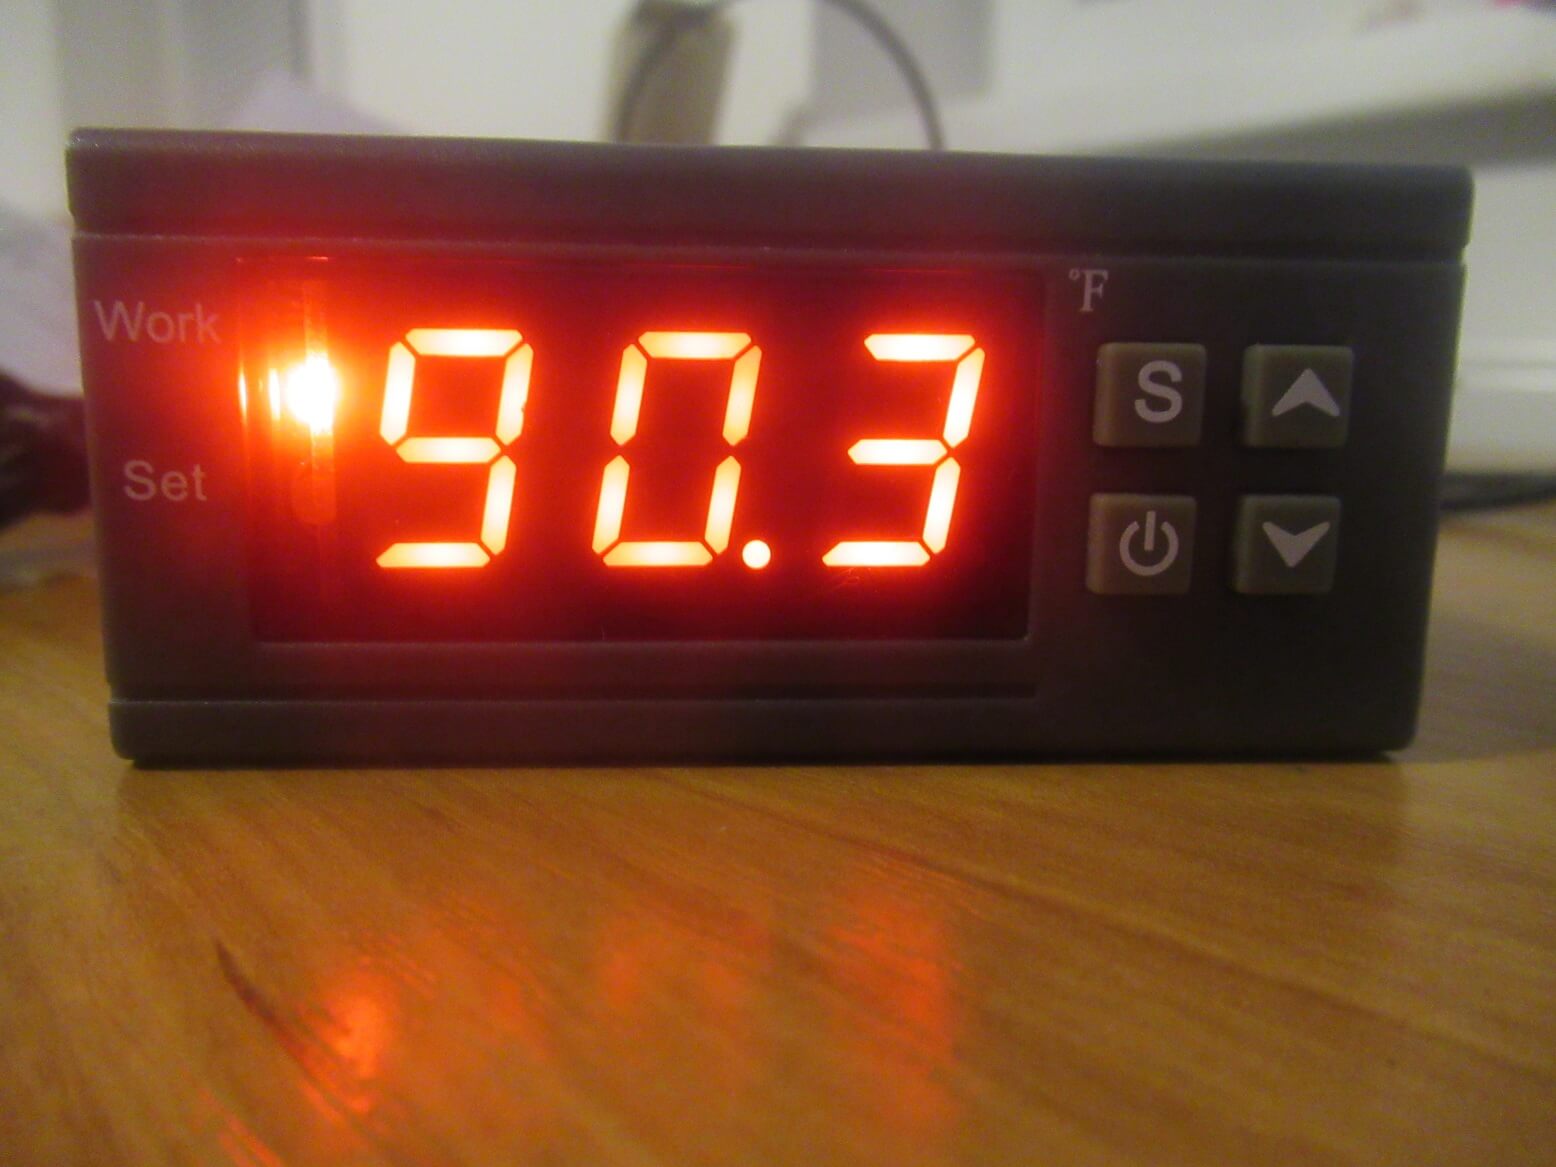
- The display is red, it shows three “LED” digits,Clearly shows the temperature full value (no decimal place) .
- Below the display are Four buttons which control the humidity controller. First buton is “SET” with next two buttons are arrow up + and arrow down – are used for menu navigation increasing or decreasing values, and R is “ON/OFF button”
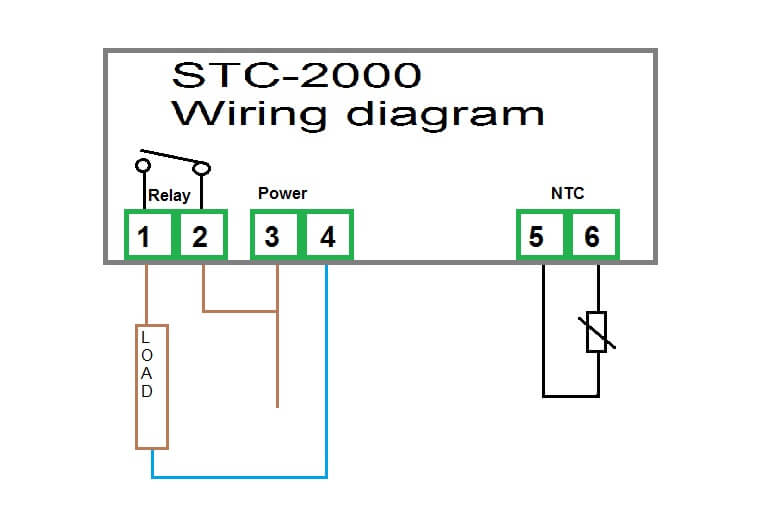
- On the back of the humidity controller green terminals. In right is “Relay switch” , in center is “Power” and left is connector for probe . (Later i descripted in schematic)
- The sensor for the Humidity controller KT-3012 is placed in bottom of temperature controller right side .It is about 80 cm long with active end.
- Humidity controller KT-3012 can save the setings if no power source (blackout).
Mr. bug is coming
The device has a serious error if you want to dehumidify (in menu Hd set d) only works with 0.1% hysteresis regardless of whether you set 5% or 10% hysteresis only switches in 0.1% and it is not applicable in practice it would turn the dehumidifier on and off all the time. Also, the start delay does not work if you have this bug set in the “Hd” item “d”, which will practically prevent dehumidification.
Problem solving
To resolve this issue, follow these steps – The trick is that you connect the load to the output of the “8” terminal , Apply phase voltage to terminal “7 “
Step two is menu Hd set “H” humidification (yes humidification), hysteresis you can set how much you need for example 10%
How will it work? when the humidity increases Relay KT3012 relay performs action contacts 6 and 7 open and contacts 7 and 8 close thus activating dehumidification, these terminals will be closed until the humidity is reduced by a hysteresis value of eg 10%. Then, terminals 6 and 7 are closed and terminals 7 and 8 are opened
Review
The KT3012 accurately measures moisture and is ideal for humidifying a hatchery. Buy or not buy a humidity controller? I think the better choice is SHT-2000 this controller can control temperature and humidity separately (has two relays) KT3012 has one relay
Pros:
- Compatible size
- Accurate humidity measurement
- calibration after 0.1% comes in handy
Cons:
- Mentioned error when setting item “d” drying
KT-3012 has no other disadvantages only bug.
Wiring diagram and manual
Here is copy of original manual for KT3012 by Ketotek.

How to set menu and description items
At the beginning it is good to introduce humidity control for easy work. The MH-13001 has four control buttons on the SET, UP and DOWN,TURN ON/OFF.
Short press SET key you can set goal humidity (with arrows).
If you press the SET button for 2 seconds enters the menu with eight options for setting the humidity controller (Hd,P7,CA,HS,,d,)
| Code description | Set range | default | |
| HC | H dehumidification/C humidification | H/d | d |
| d | Difference set value | 1-50%RH | 5 |
| PU | Output protection time | 0-90 minutes | 0 |
| CA | Humidity correction | -20~20%RH | 0 |
| HP | Humidity limit alarm deviation value,0 to cancel the alarm | 0-50%RH |
Hd – humidification or dehumidifying

Dehumidification Mode: When the measured Humidity is higher than or equal to the set value + hysteresis, the relay picks up to start the output; When the measured Humidity below the set value, the relay off and close the output.

Humidification mode: When the measured Humidity is higher than or equal to the set value, the relay off, turn off the output; When the measured Humidity below the set value – hysteresis, the relay picks up to start the output.

Problem I mentioned the error above in the article.
Example for Setting: If it is set to Humidification mode, set the Humidity to 75%, hysteresis is set to 5, then when the measured Humidity is higher than or equal to 75%, the relay is off, close the output. When the temperature is below 70%, pick up the relay again, to start the output.
Example for Setting: If it is set to Dehumidification mode, set the Humidity to 75%, hysteresis is set to 5, then when the measured Humidity is below 75%, the relay is off, close the output. When the Humidity is higher than or equal to 80%, pick up the relay again, to start the output.
Humidification, Dehumidification mode setting: Press “SET” key and hold more than 2 seconds to enter the menu display, the screen appears “HC” code, press the “SET” key to display the working mode, press the “▲” or “▼” to adjust the display, C means Dehumidification mode; H means Humidification mode.
d – Hysteresis function
Hysteresis setting limits the maximum interval between the opening and stopping, this machine minimum interval between the opening and stopping is 1 %, the maximum is 15 %.

Hysteresis settings: Press “SET” key and hold more than 3 seconds to enter the menu display, with “▲” or “▼” key adjusted to the screen, appearing “D” code, press the “SET” key to display the hysteresis set value, press “▲ “Or”▼”key to adjust the parameters.
CA – Humidity calibration funtion
When there is deviation between the measuring Humidity and standard Humidity, use the Humidity calibration function, make the machine measurements value consistent with the standard Humidity, the after calibration Humidity = the before calibration Humidity + calibration value (calibration value can be positive number, negative number, and 0) .

Humidity calibration settings: Press “SET” key and hold more than 3 seconds to enter the menu display, with “▲” or “▼” key adjusted to the screen, appearing “CA” code, press the “SET” key to display the temperature calibration settings, press “▲ “Or”▼”key to adjust the parameters
PU Delay Protection Funtion
Set the device boot twice the shortest time interval
Delay Protection Setting: Press “SET” key and hold more than 3 seconds to enter the menu display, with “▲” or “▼” key adjusted to the screen, appearing “PU” code, press the “SET” key to display the delay setting value, then press the “▲ “or “▼”key to adjust the parameters.

Hd –choice between dehumidification (H) and humidification (d) Humidification mode Dehumidification Mode CA-Calibration High Alarm Delay Protection Funtion hysteresis aka sleewing range
Technical parameters
- Working voltage: 220V ±10%
- Rated current: 10A
- power consumption: ≤3W
- Measurement range: 10% ~ 99% RH
- Measurement precision: 1% RH
- Measurement error: ±3% RH
- Control precision: 1% RH
- Working temperature: 0~70 Celsius degree
- Item size: 8.5 * 7.5 * 3.5cm / 3.4 * 3 * 1.4in
- Item weight: 203g / 7.2oz
- Package size: 10 * 8 * 6cm / 3.9 * 3.1 *1.6in
- Package weight: Approx. 235g / 8.3oz


